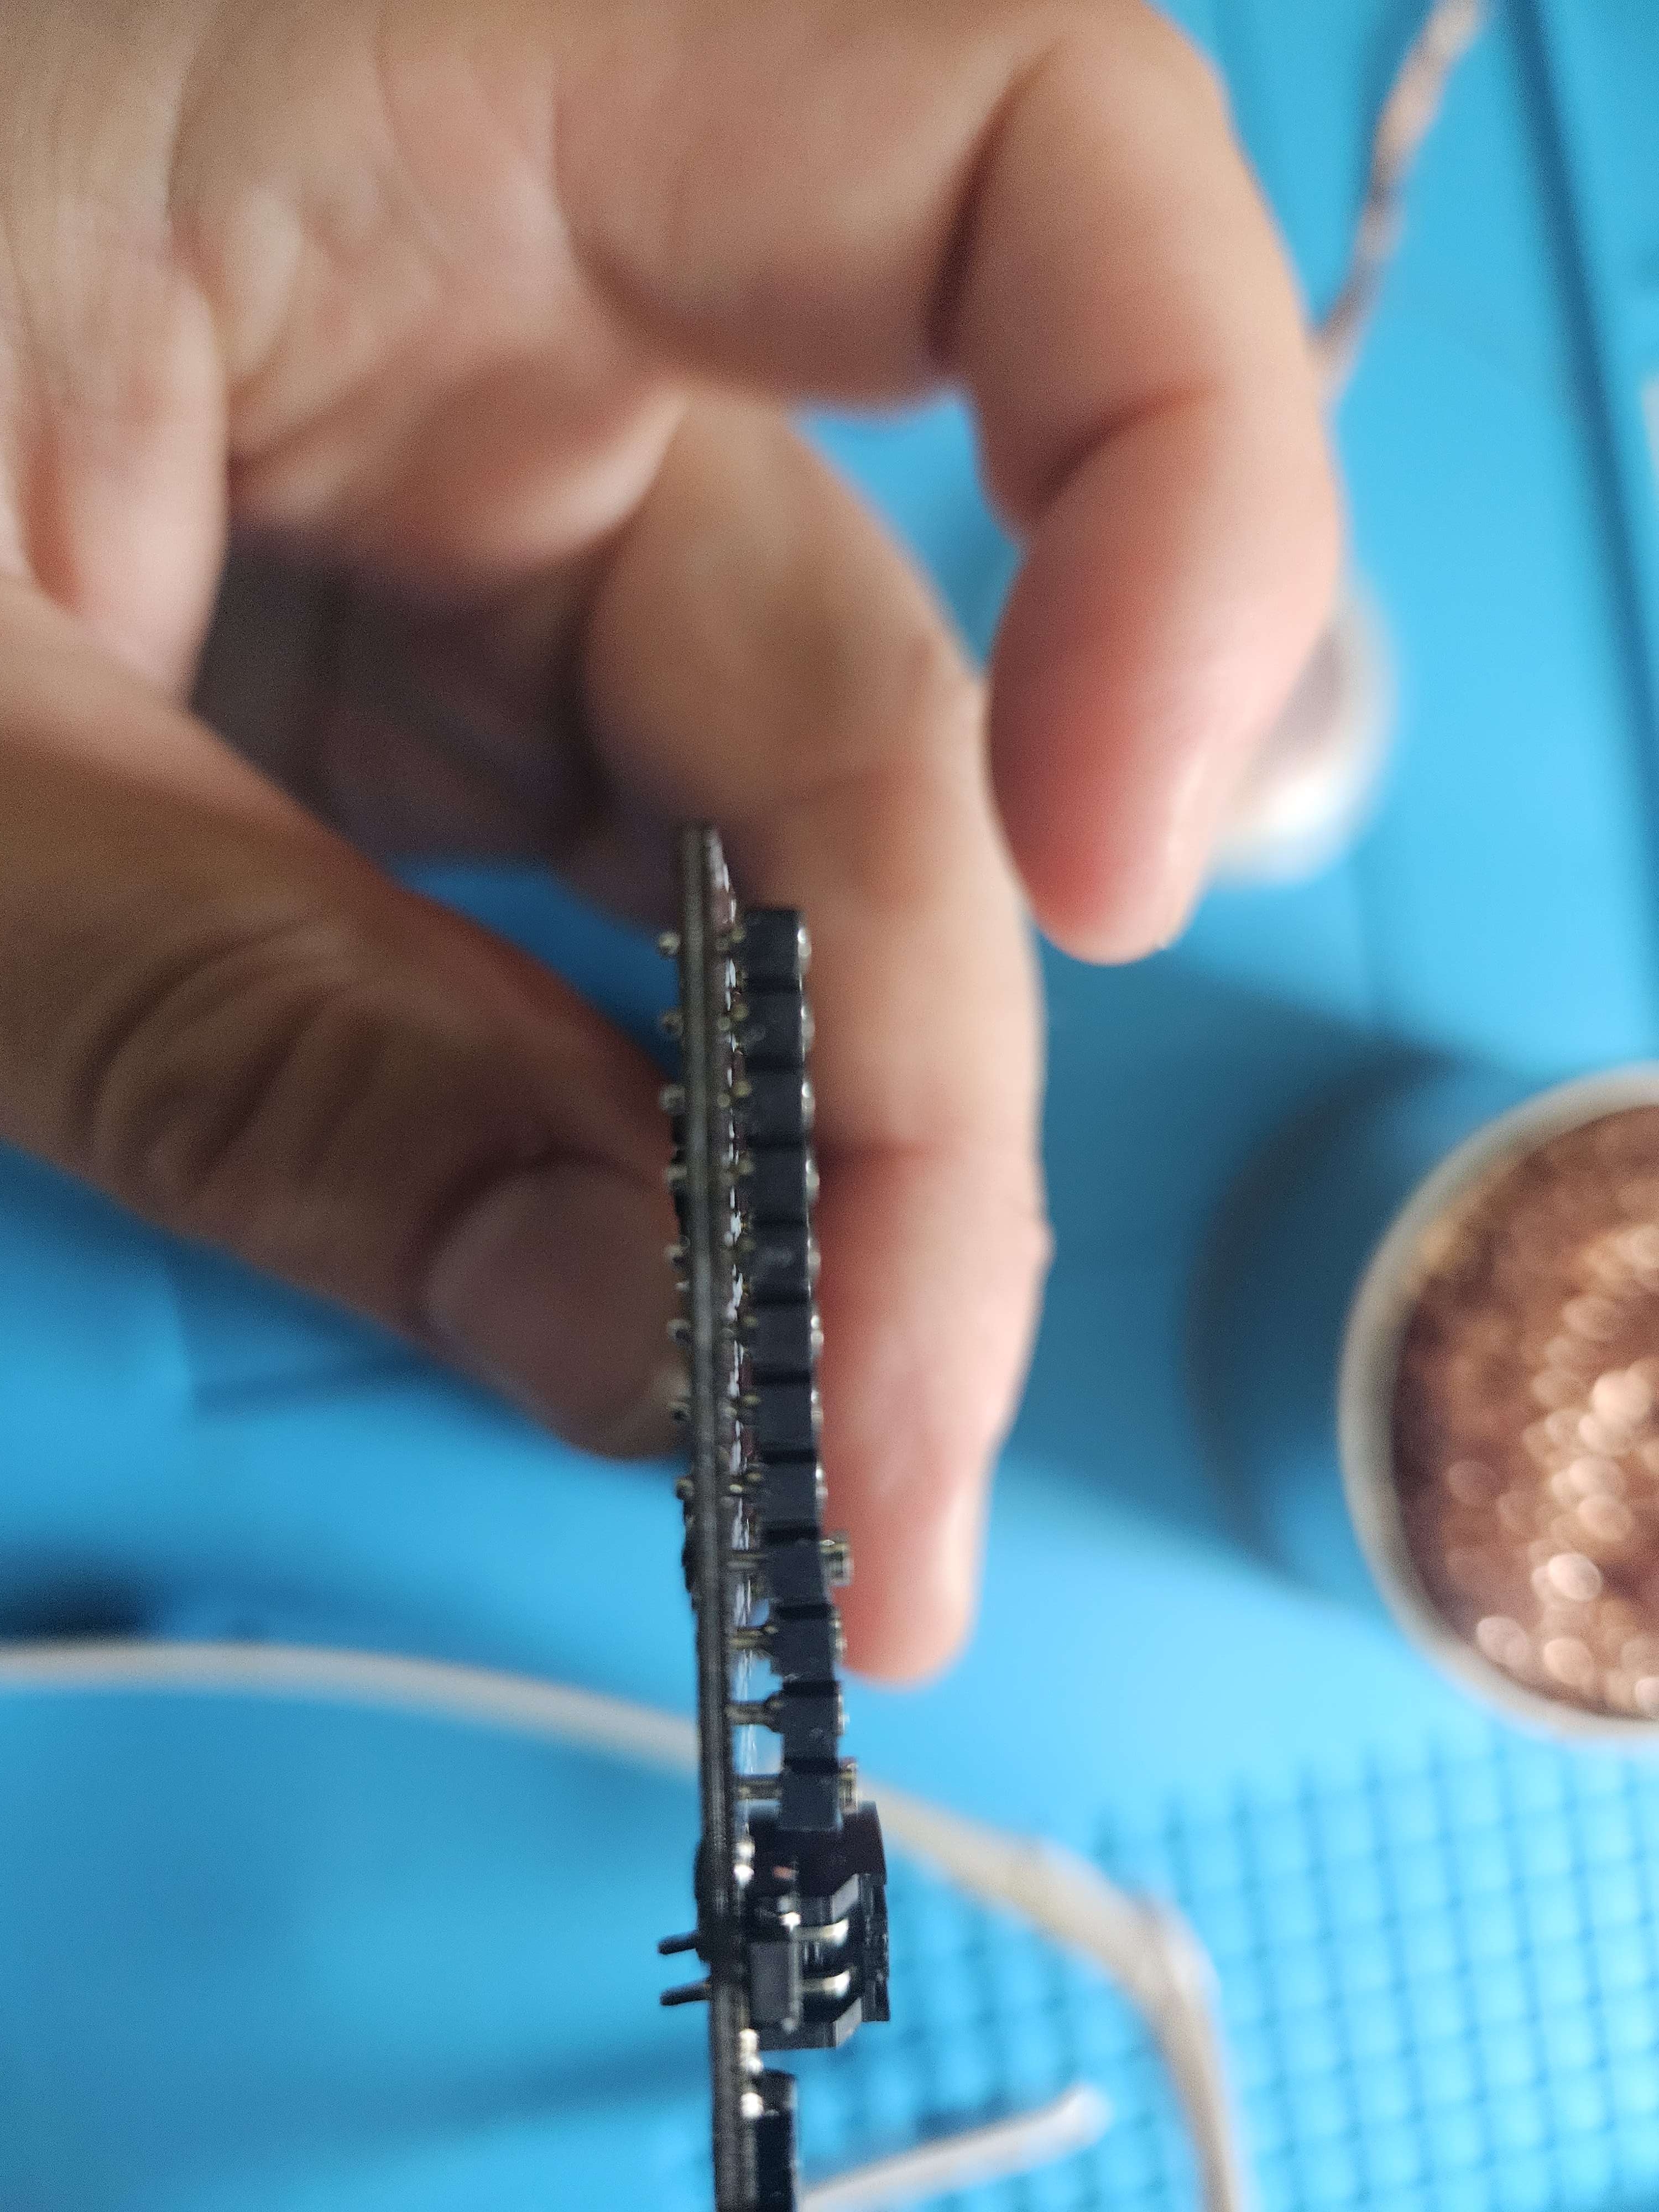
Somehow this socket got soldered this way
I'm trying to desolder it but it's taking forever and I don't want to break it by pulling it out if it's not fully desoldered...
I have no idea how this happened - I had pushed it down all the way and taped it It's like there's something blocking it but I don't know why it wouldn't have gone all the way through
15 Replies
That happens sometimes — the sockets can get slightly misaligned or a bit of solder can wick in and hold them up. A couple of tips that should help without risking ripping pads off the PCB:
- Don’t pull with force until every pin joint is fully molten — pulling on a socket that’s still anchored by even one joint risks tearing the pad.
- Add more solder / flux first — it might sound counterintuitive, but fresh solder and flux improve heat transfer and make it easier to fully reflow the joint.
- Use desoldering braid (wick) — place it over the joint and heat until the solder soaks in. Keep the iron tip clean and tinned.
- Tackle one or two pins at a time instead of the whole row. Rock the socket gently only while the solder is molten.
- If you have access, a solder sucker (pump) can clear most of the solder quickly. Sometimes alternating between braid + pump works best.
- Worst case, you can clip the plastic socket body (flush cutters) and then remove the pins one at a time — slower but much safer for the PCB.
If the socket looks like it’s just not sitting flush (but is electrically secure and straight), you may not actually need to pull it out at all unless it blocks the nice!nano or switch plate.
Would you like to send a picture of how much it’s sticking up? That’ll help figure out if it’s safe to leave as is or worth the full desolder.
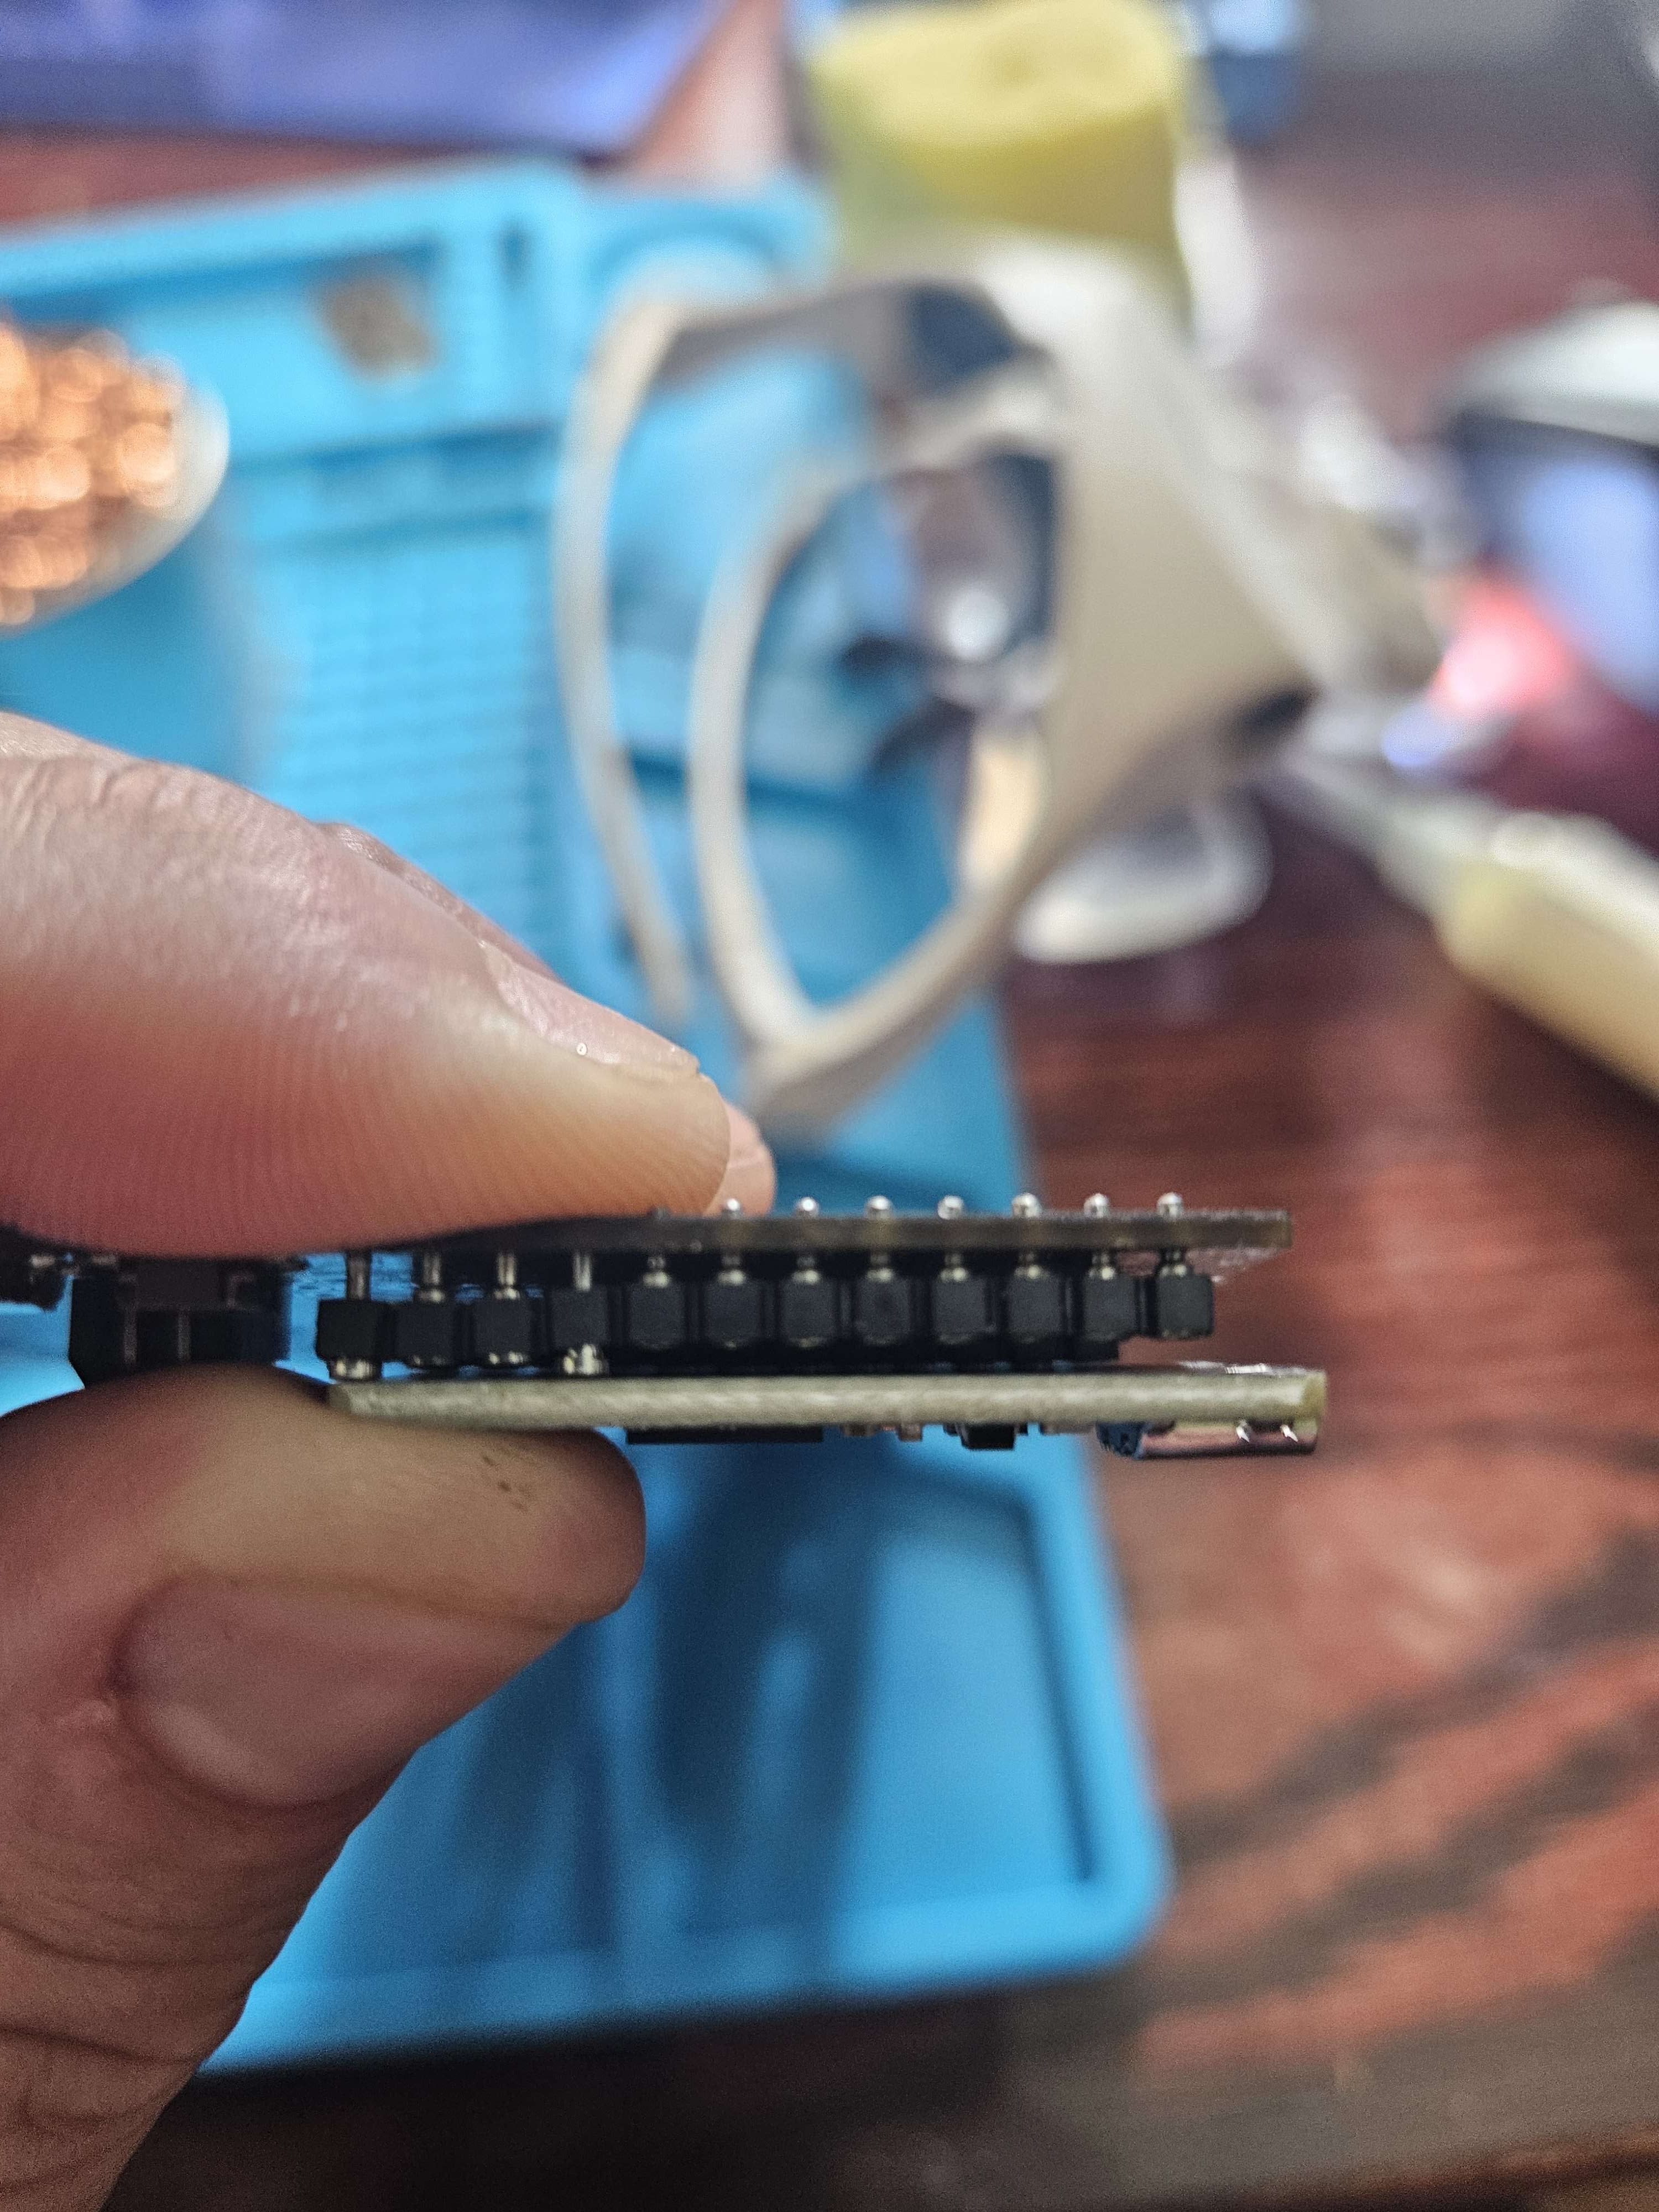
I'm alternating between wick and pump - I know it would have been fine electrically but I was worried about some type of misalignment with the nice nano
You can see this gap here but I guess it would be okay since the other pins that go in the nano to the socket should clear it?
From my experience, de soldering a header strip without damaging it is pretty much impossible. Also, these are dirt cheap, so you should just get rid of the strip and solder in a new one.
If you only have wick and pump, the easiest way to remove the strip is to:
1) cut the plastic in between each header, so that they are all independent
2) use your soldering iron from the back side of the header to press on the header, heat will transmit from the header to the hole and weaken the solder, keep pressure until the header slide all the way through the hole
3) Once all headers are removed that way, use wick to clean remaining solder on the pads
4) Solder a new header strip in place of the old one
For the next solder, do one header at a time, starting with one at each end to make sure everything is fine
Also take care not to push too hard to the headers while soldering. Once hot the plastic casing can become a bit loose and the headers can slide inside it easily
Thanks, I'm still not sure how this happened, I was following along with the video - I don't want to wait to reorder more from typer- I can use these right and just cut them at the correct number of pins - https://www.amazon.com/DIYhz-Straight-Connector-Computer-Breadboard/dp/B07BS126FK/ref=sr_1_2?crid=H2IXXOYI44G3&dib=eyJ2IjoiMSJ9.t4EogsnIDZtibclKMmVNwl3mgyRG9ANexN7xI6Dj43yRwWInFvvvq0XAoP4W_fWNpidYsADi9ucvWoahPz3moE6L_H2VXkvCxA0ztCmJffNMu7HjQ_1i06tLF8thWf84hCq8txd_LHNbEuiddfBVrr4x_GQO5niJ1t4MZRnX3EM9NlAYmqCggQvnomywlP9NcaYVMgZLx24ZQLRJit1Bnfom820ASRS9TxMWe1sIAX2qo69vQ728rBPLFkfmAiaXpCpkow1Kzl_gKWmrjMndNTn3ALhHopR9dDN-hQsfXdY.TgT4IeVUO3cjW4NtzUVnvsYMseqa1ncY3hyUy4nwEmo&dib_tag=se&keywords=ez-solder+machine+sockets+and+headers&qid=1757427151&sprefix=ez+solder+heade%2Caps%2C159&sr=8-2
DIYhz 5pair Gold Plated (ROHS) Single Row Round Pin 40P Straight Ne...
Note
1.Material
Housing:Glass-reinforced Thermoplastic UL 94v-0.
COntact Plating: Nickel.
2.Electrical
Current Rating:3AMP
Dielectrc Withstanding Voltage:500V AC.
Contact Resistance:20mΩMax.
Insulation Resistance:1000mΩmin.
3:Environmental
Temperature Range:-40°Cto+105°C.
Single angle ...
Sure any headers will do, as long as it's 2.54mm
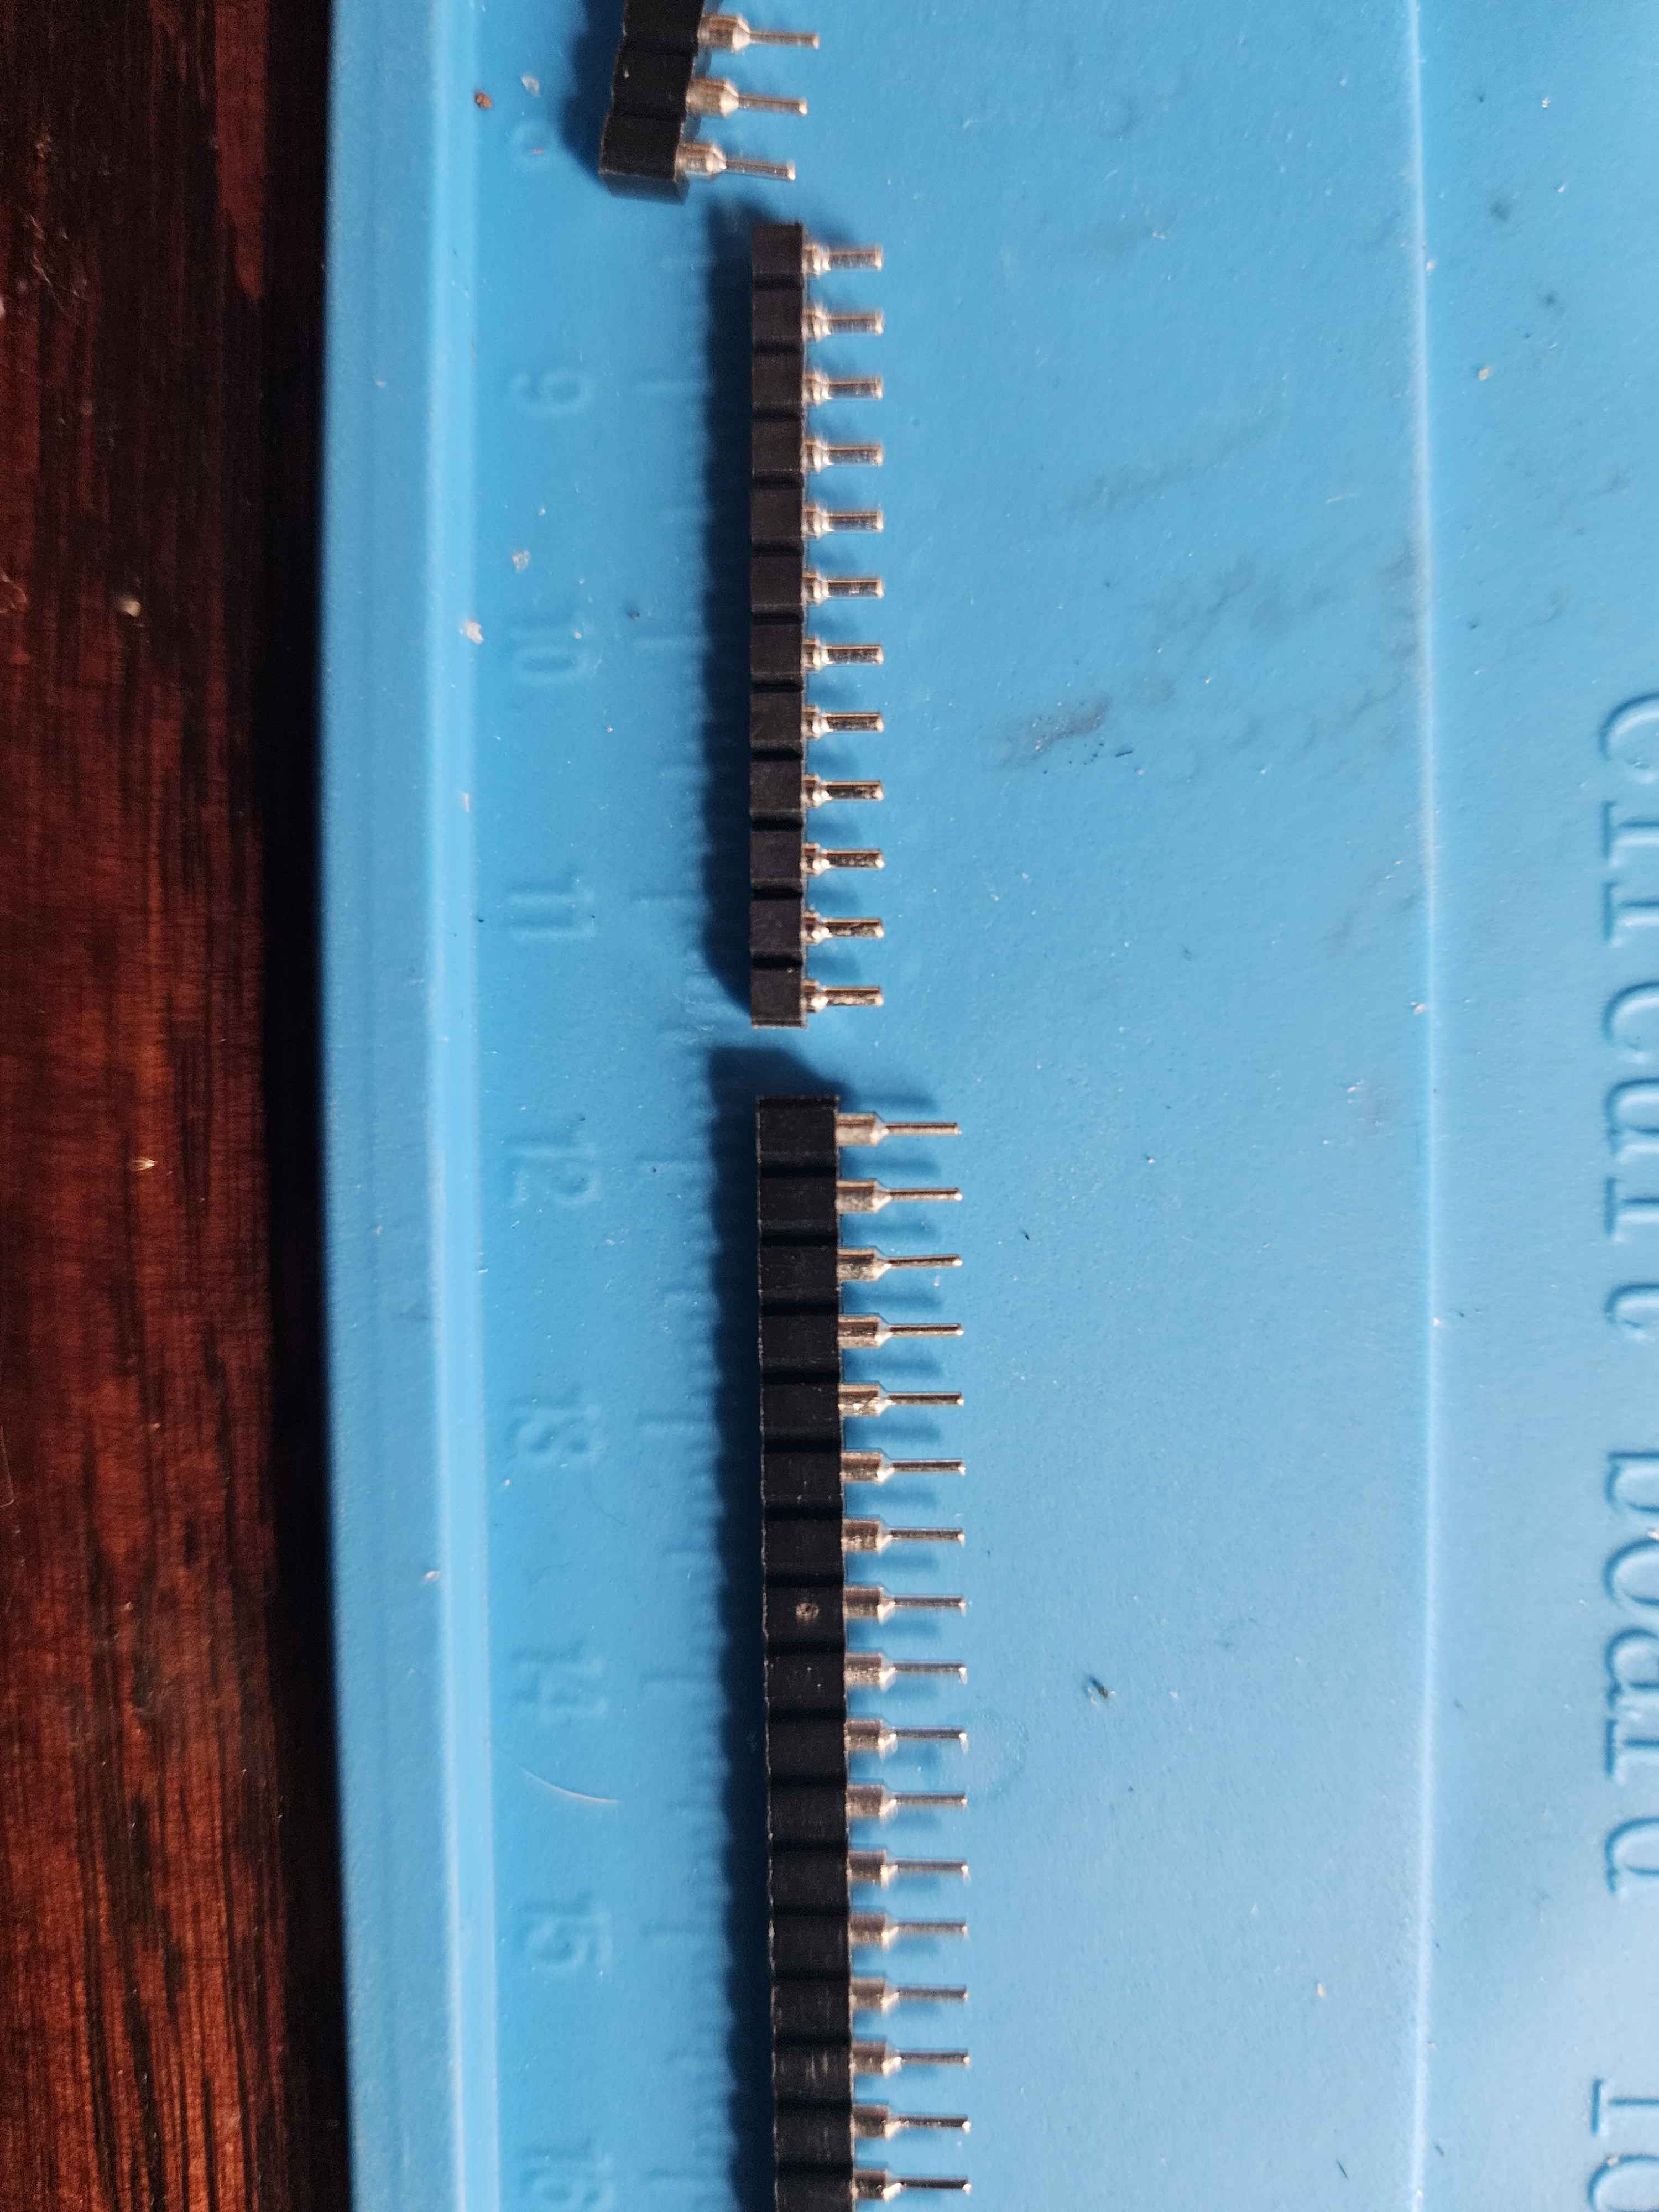
somehow the pins are stuck despite cutting each block - how hot can I make my soldering iron in order to get these out easier?
do you have an indication of temperature on your soldering iron? Do you know how hot it is, and can you set it?
yeah, its an hakko, set to 350 right now but still not that effective at freeing these pins
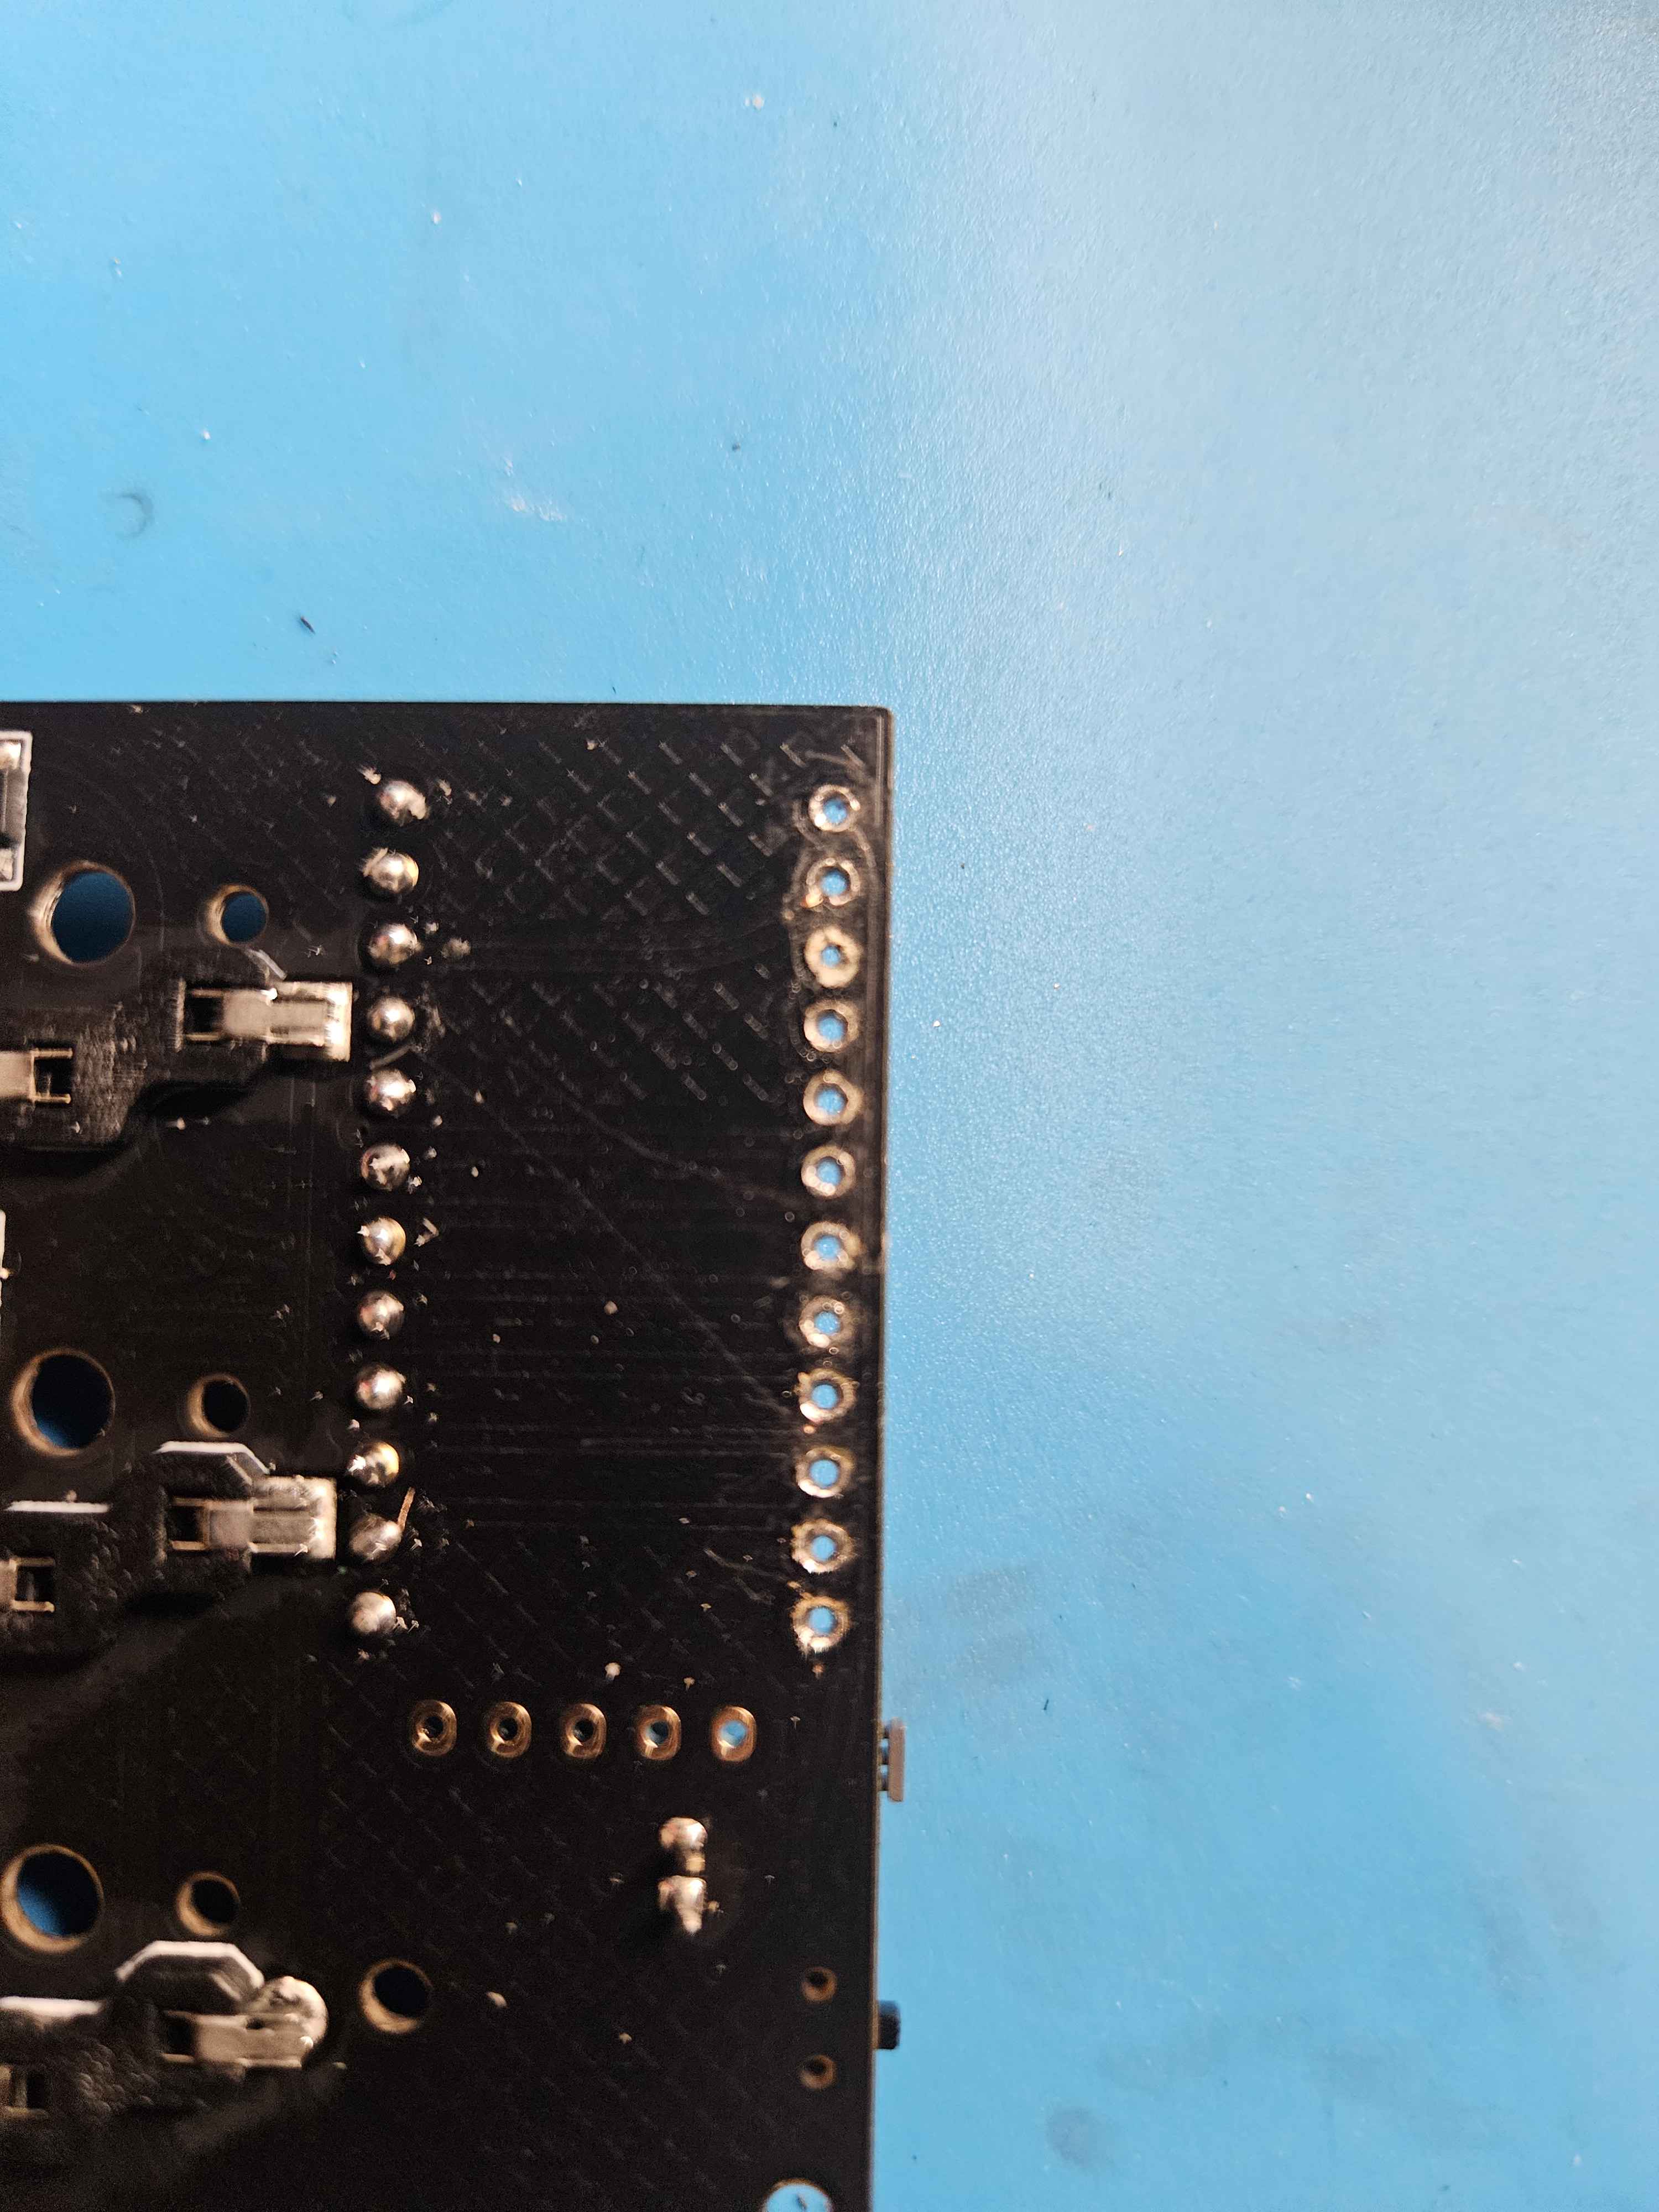
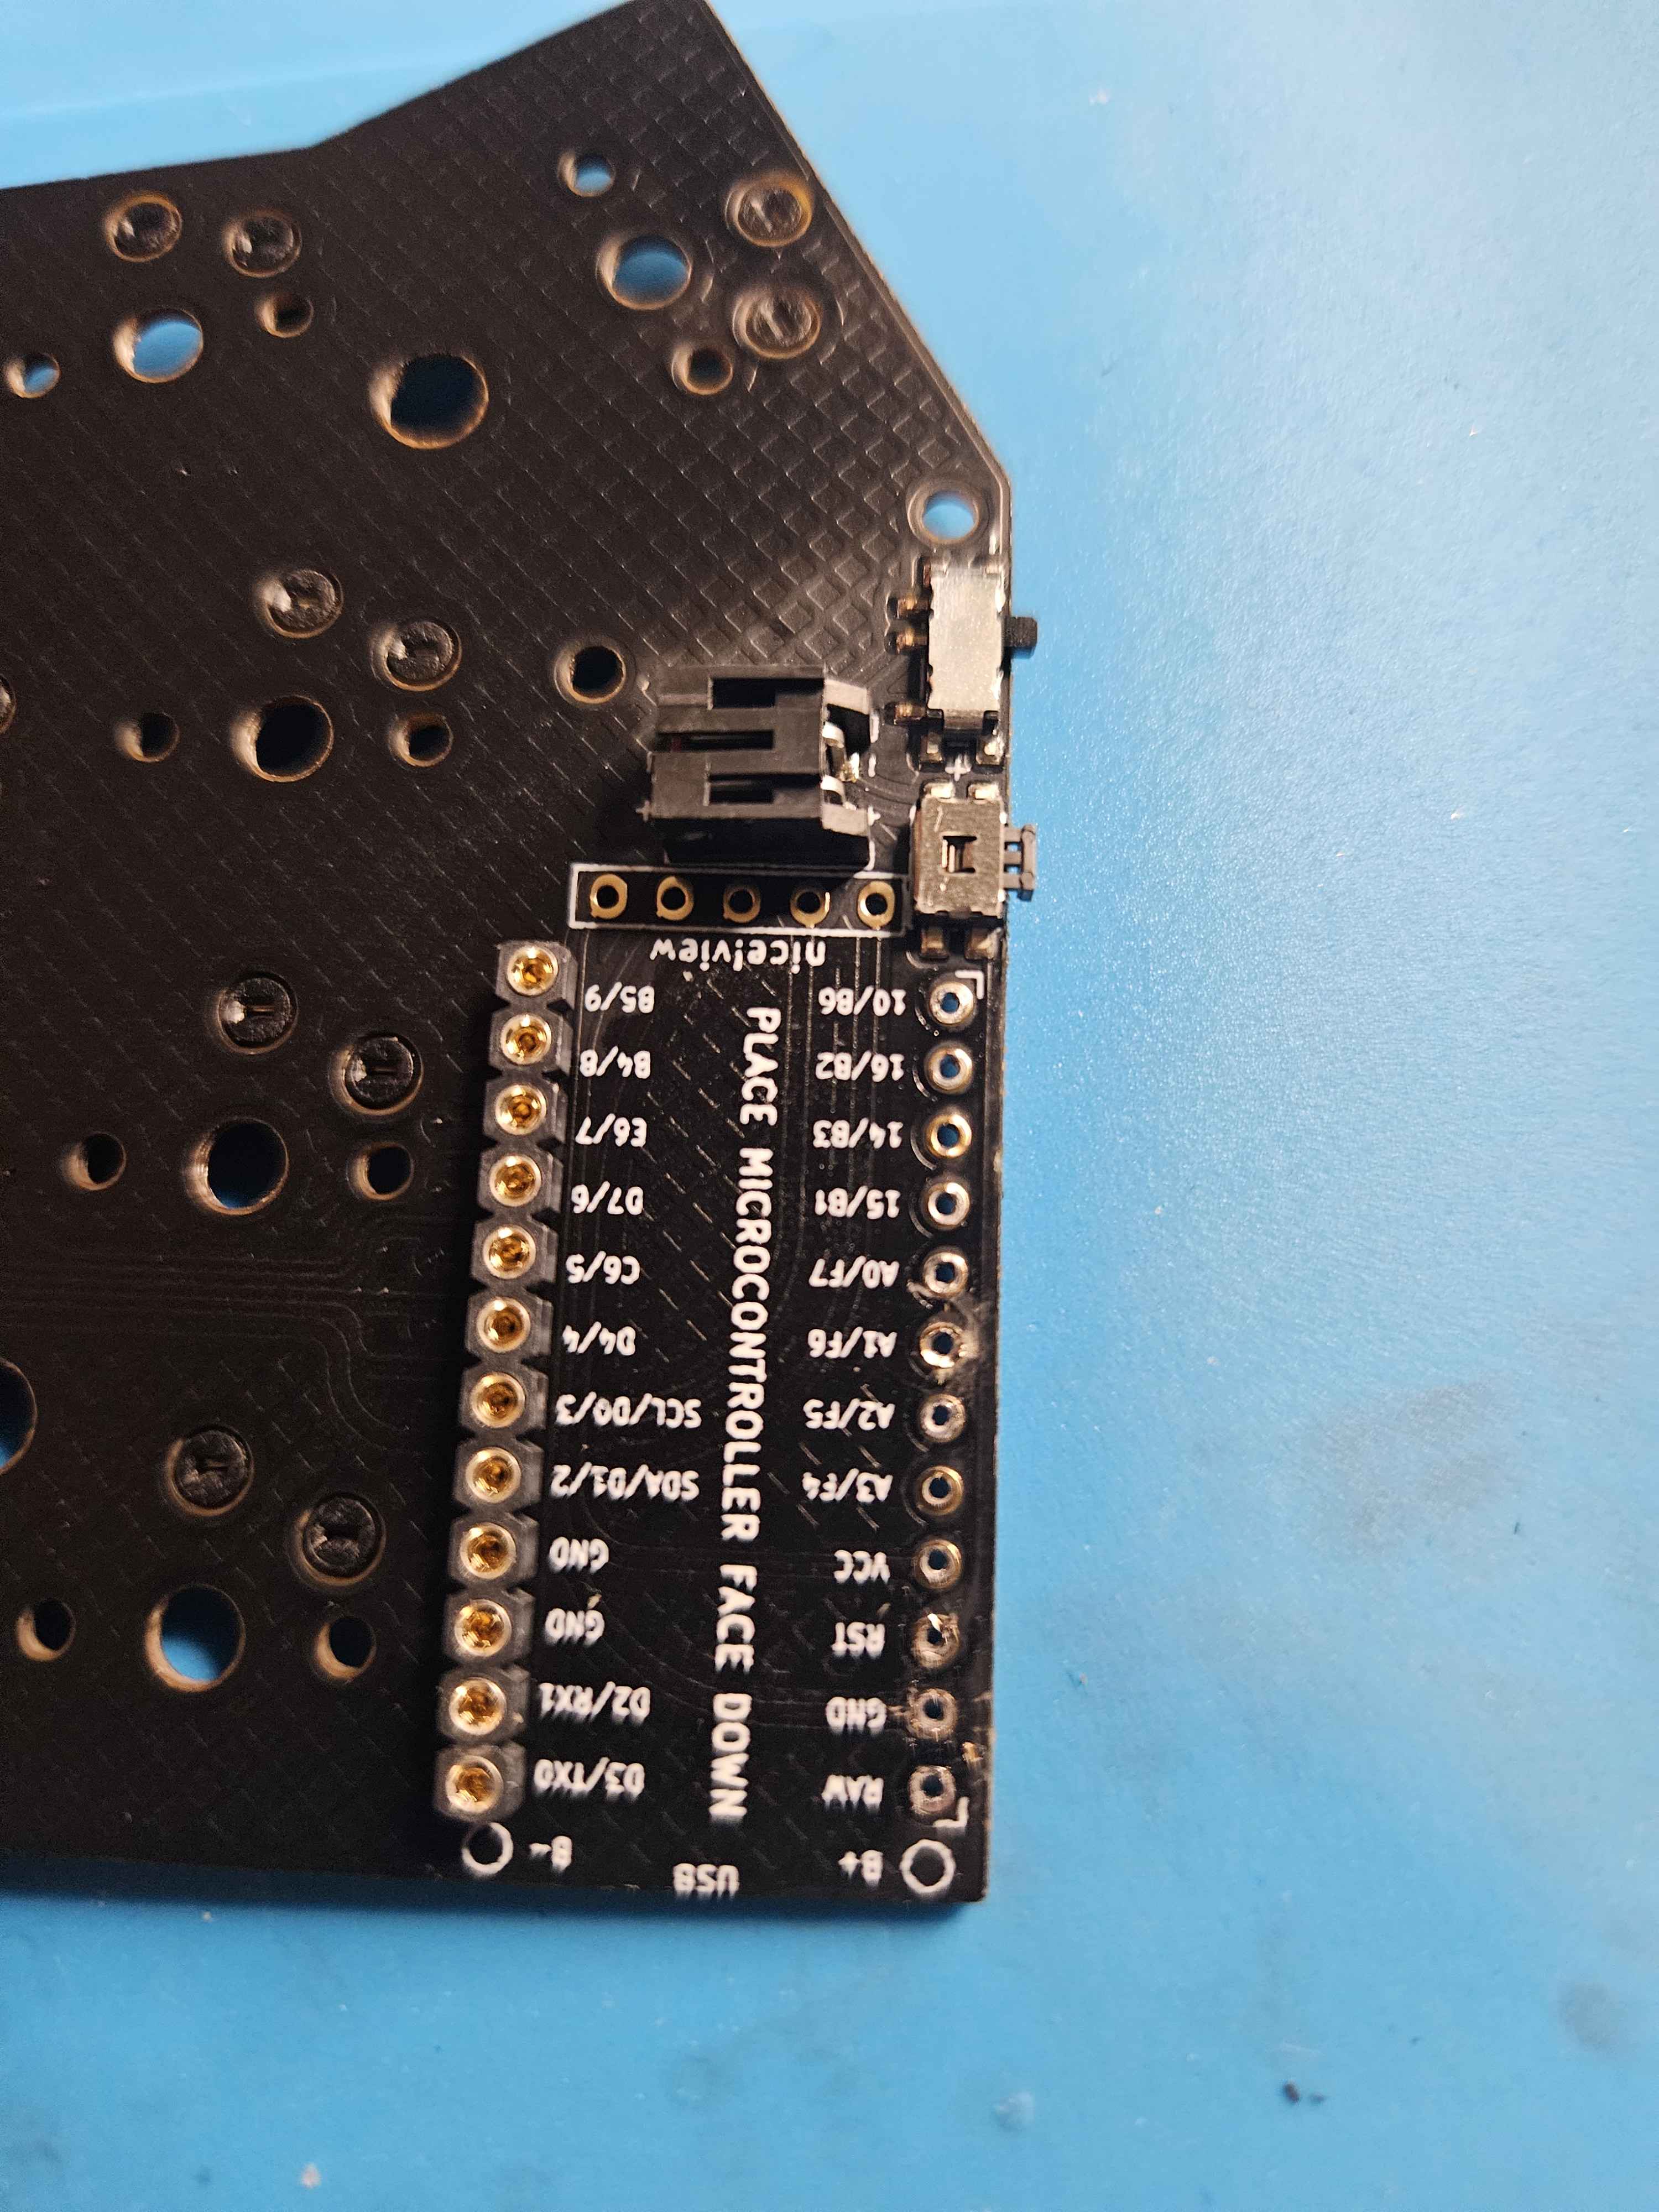
Okay finally do soldered does the board look okay to you?
@avallee
Also I'm pretty sure Amazon screwed me over
One of these things is not like the other
hmmm i can't get these short pins (the ones that came with the typeractive I order, the Ez solder ones) to fit in here
350C or 350F?
oh yes they need to match the other pair, my bad I didn't think of checking that against the typeractive ones on your item
sorry I feel bad
you will have to either order new matches, or desolder the other ones
what is the RIGHT size then?