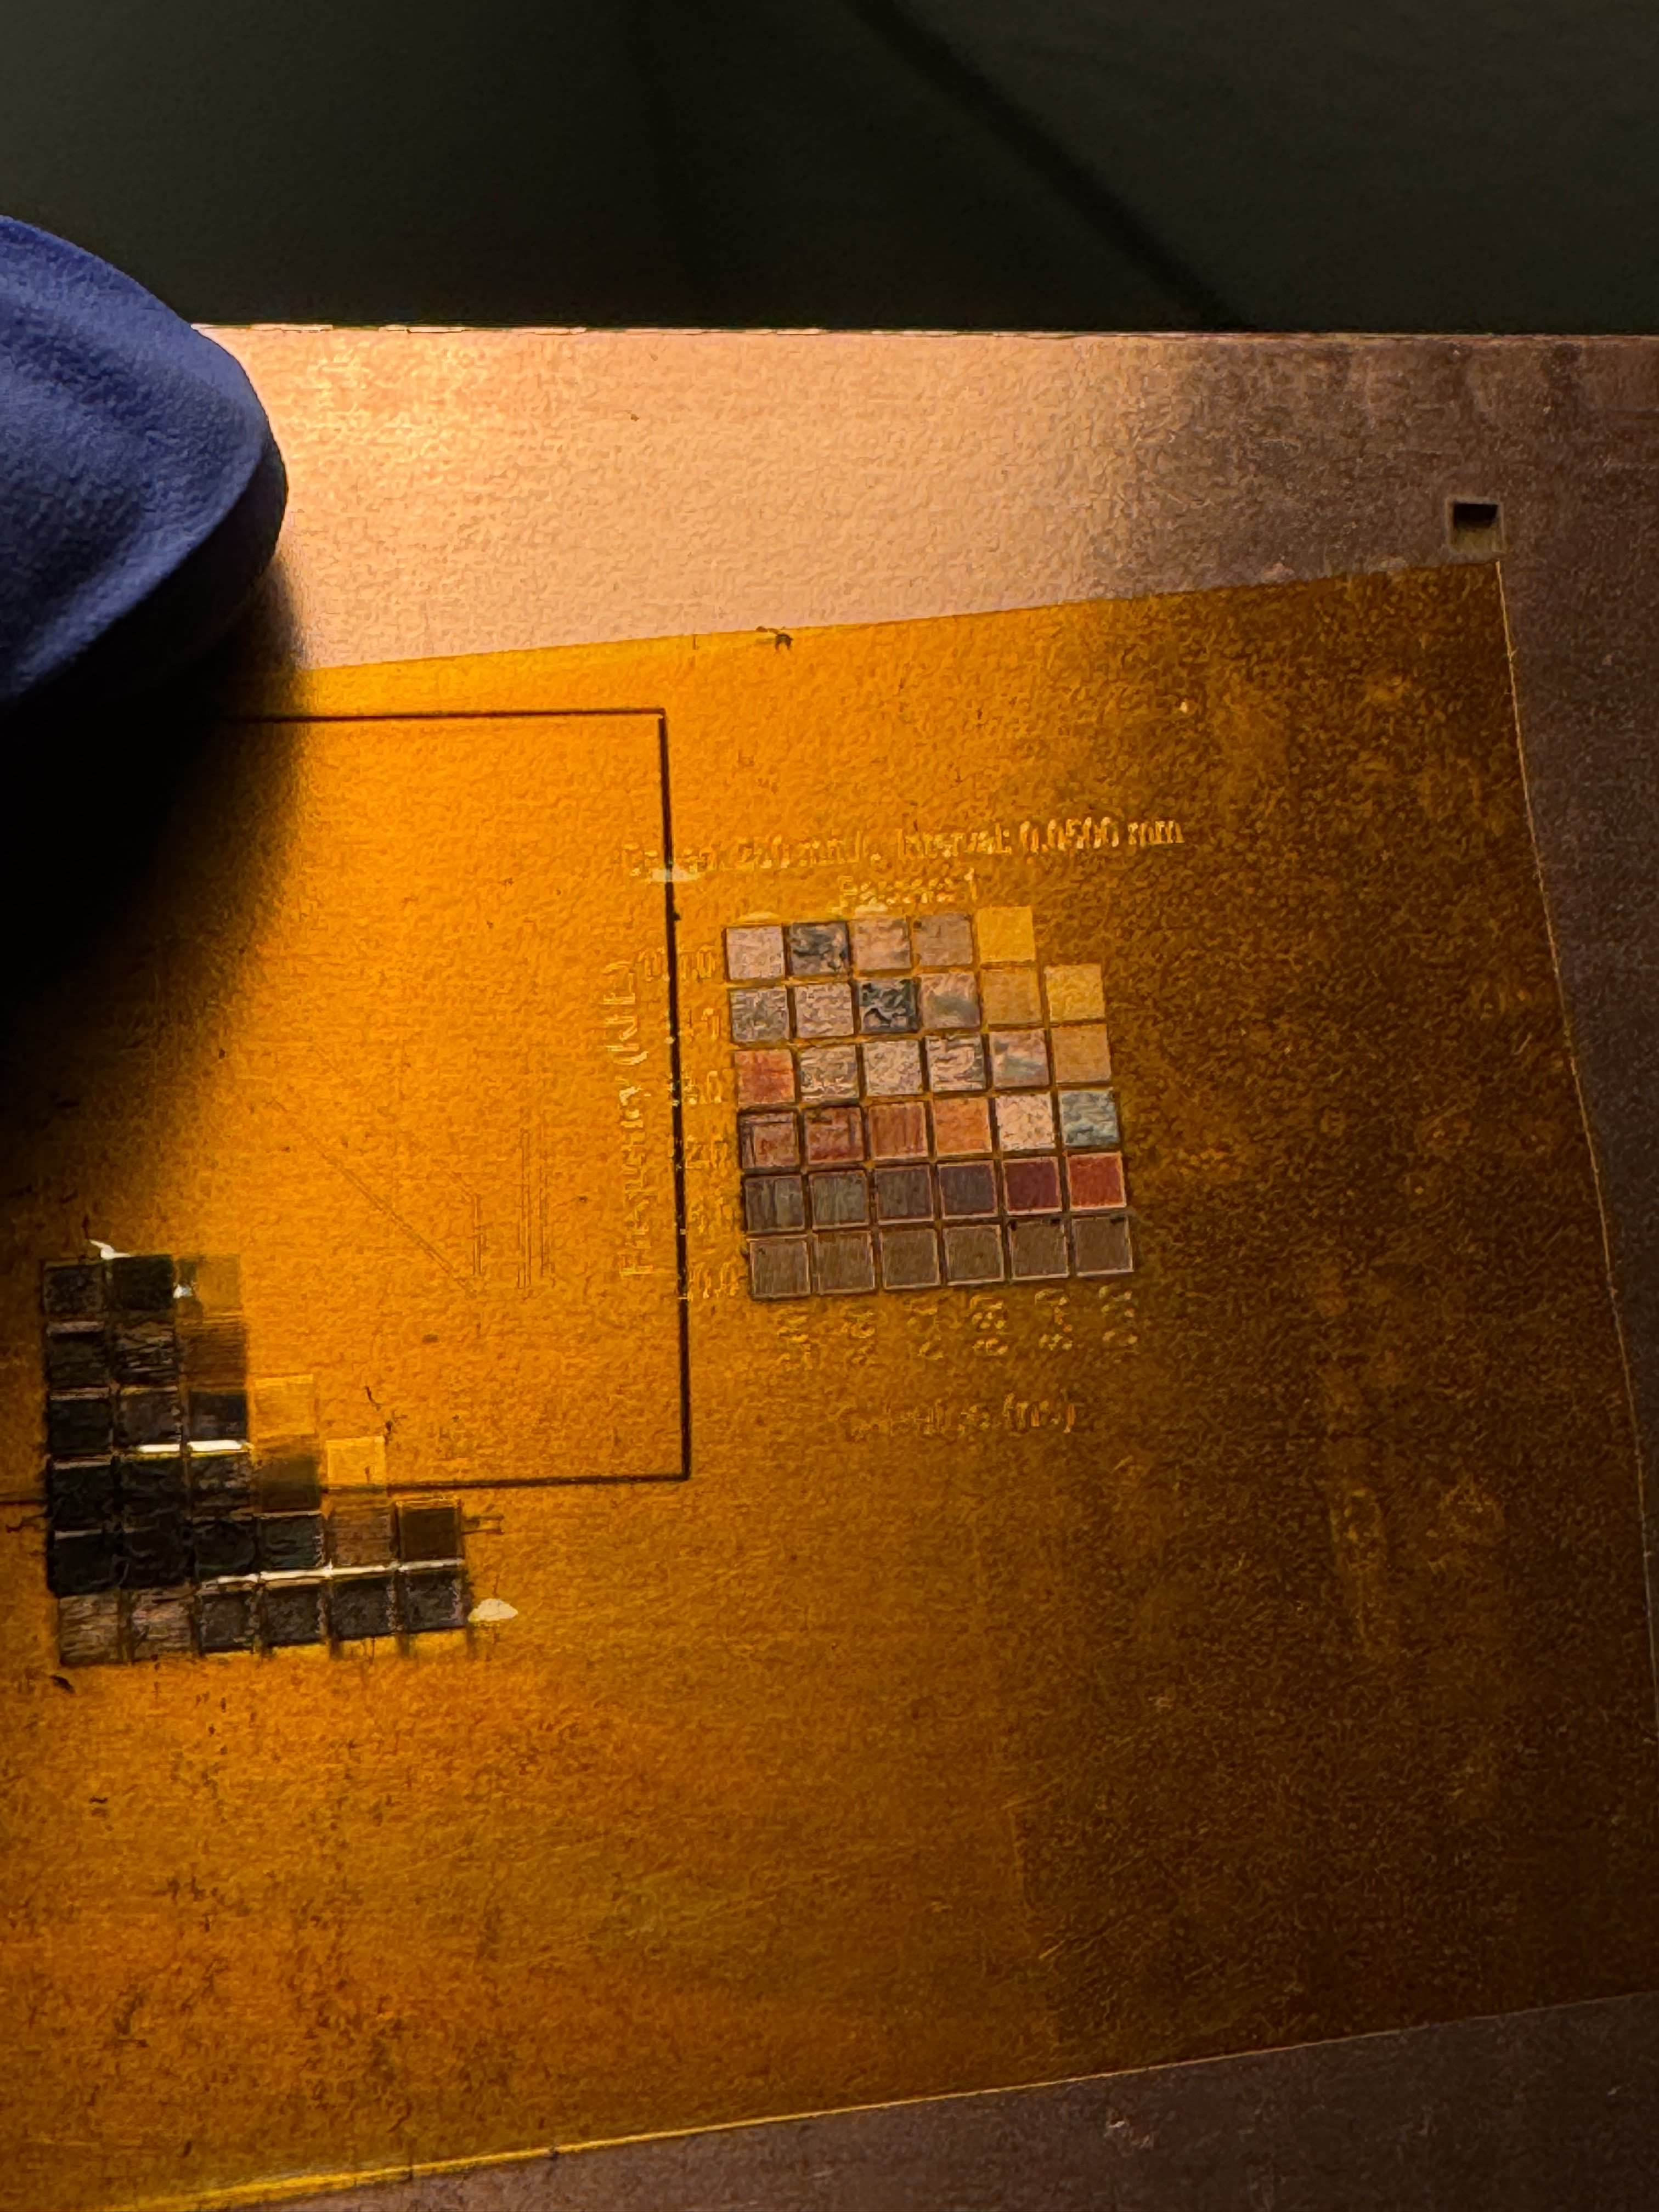
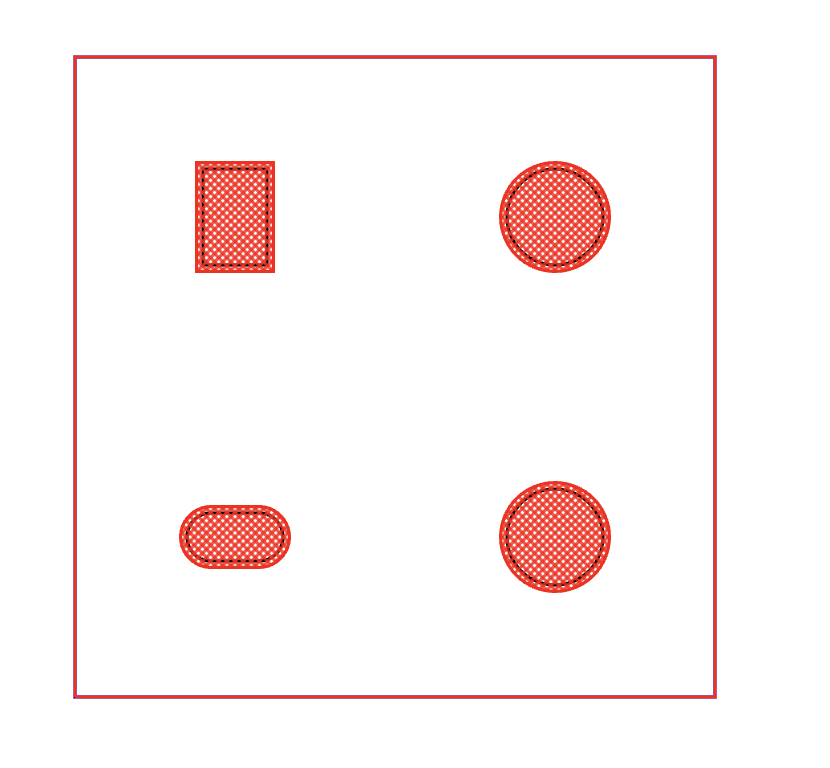
Seve - Got to test kapton tape ablation, its ea...

Got to test kapton tape ablation, its easy and you can do it without harming copper, but we should use a crosshatch fill
No description
24 Replies
Anas
Anas2w ago
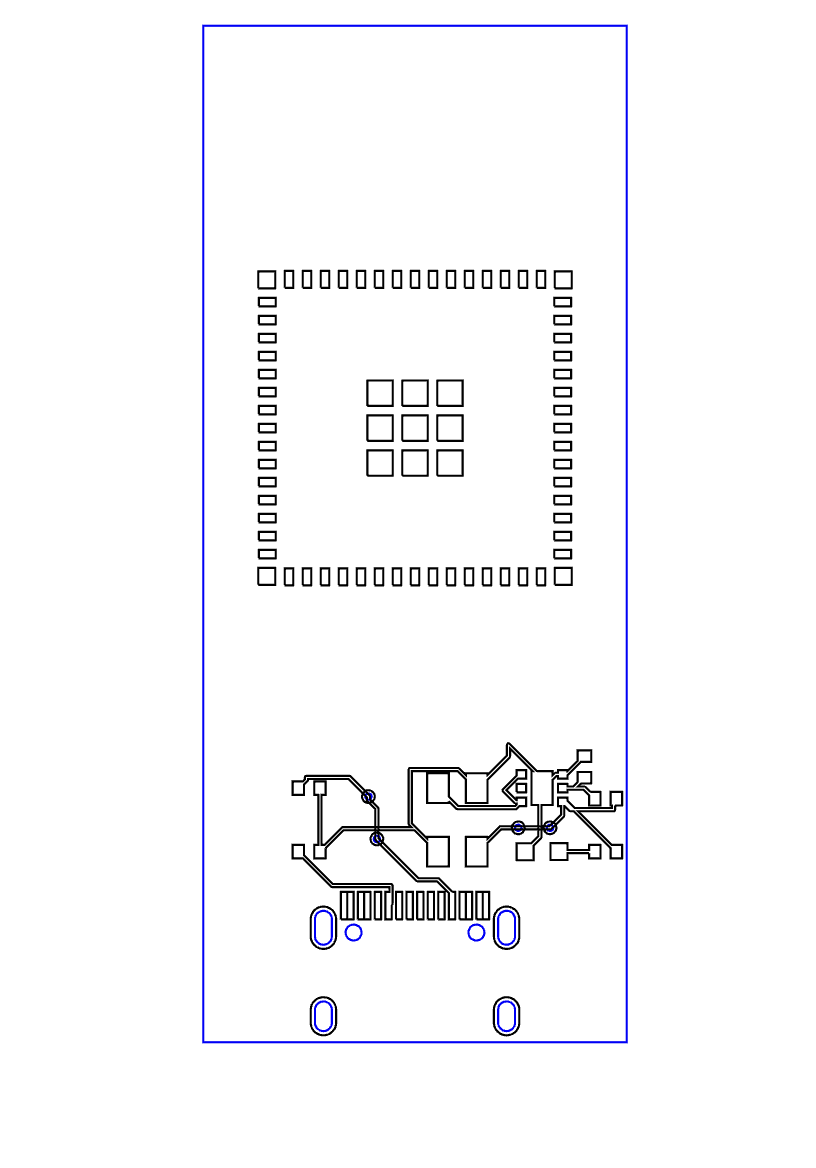
I made some updates on lbrns repo, here is ex output. *lbrns2 * file example
<?xml version="1.0" encoding="UTF-8"?>
<LightBurnProject AppVersion="1.0.0" FormatVersion="1" MaterialHeight="0">
<CutSetting type="Cut">
<index Value="0"/>
<name Value="Cupper cut"/>
<minPower Value="80"/>
<maxPower Value="80"/>
<speed Value="100"/>
<priority Value="0"/>
</CutSetting>
<CutSetting type="Cut">
<index Value="1"/>
<name Value="Through board"/>
<minPower Value="80"/>
<maxPower Value="80"/>
<speed Value="50"/>
<priority Value="0"/>
</CutSetting>
<CutSetting type="Scan">
<index Value="2"/>
<name Value="Filled Pad"/>
<minPower Value="50"/>
<maxPower Value="50"/>
<speed Value="150"/>
<priority Value="1"/>
<interval Value="0.2"/>
<angle Value="45"/>
<crossHatch Value="0"/>
</CutSetting>


<!-- Board outline -->
<Shape Type="Rect" CutIndex="1" W="100" H="80">
<XForm>1 0 0 1 0 0</XForm>
</Shape>

<!-- Pad 1: Cut mode (outline only) -->
<Shape Type="Rect" CutIndex="0" W="20" H="15" >
<XForm>1 0 0 1 20 20</XForm>
</Shape>

<!-- Pad 2: Scan mode (filled with scan lines) -->
<Shape Type="Rect" CutIndex="2" W="20" H="15" >
<XForm>1 0 0 1 60 20</XForm>
</Shape>
</LightBurnProject>
No description
Seve
SeveOP2w ago
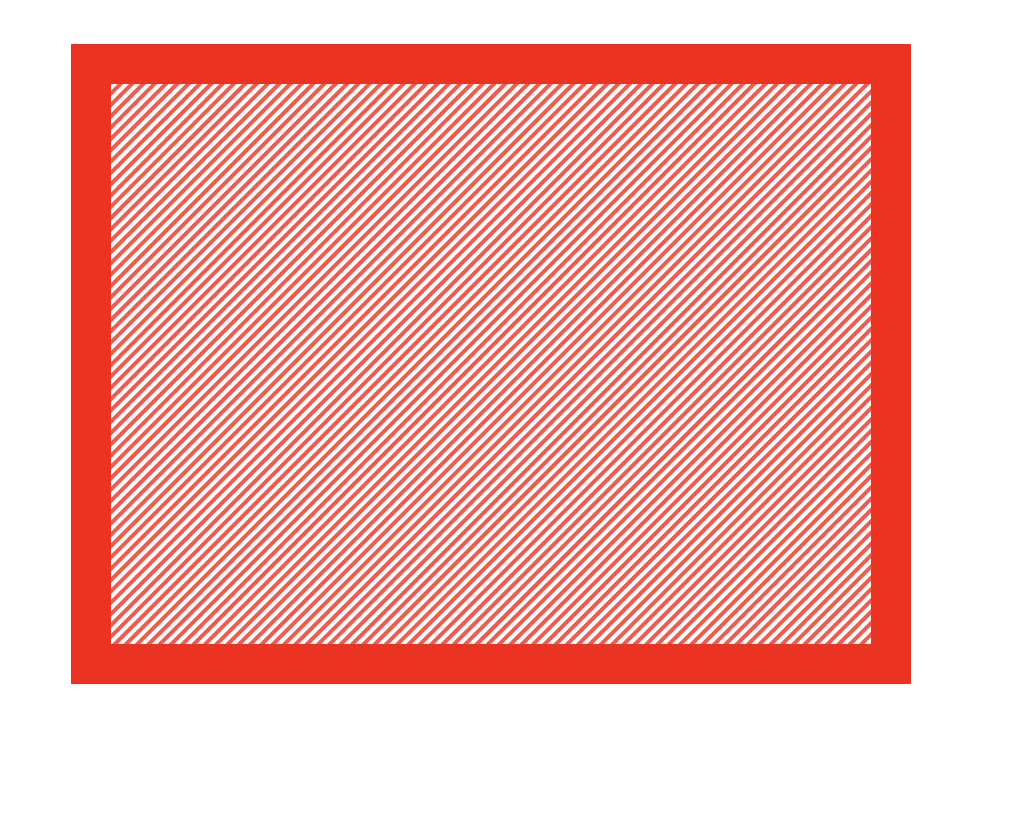
why is it filled tho did you see Shibo and my discussion around filling as the laser would? i.e. with zfill or crosshatch depending on setting?
shibo
shibo2w ago
if you zoom into the filled shape you'd see it's actually a path not a fill
Anas
Anas2w ago
No description
Seve
SeveOP2w ago
how/where is that path configured? But yes that is good ok i think i see it nice work 🚀
Anas
Anas2w ago
Now I think I should work on adjusted soldermask margin
Seve
SeveOP2w ago
yes makes sense! 🍻
Anas
Anas2w ago
we can customize the crossHatch looks
const soldermaskCutSetting = new CutSetting({
type: "Scan", // Use Scan mode to fill the pad shapes for Kapton tape cutting
index: 2,
name: "Cut Soldermask",
numPasses: 1,
speed: 150,
scanOpt: "individual", // Scan each shape individually
interval: 0.18, // Distance between cross-hatch lines
angle: 45, // Angle of the cross-hatch lines
crossHatch: true,
})
Anas
Anas2w ago
No description
Anas
Anas2w ago
do these option costomie how the laser cuts? @Seve Should I add soldermaskMargin option here ?
const project = convertCircuitJsonToLbrn(circuitJson, {
includeCopper: false,
includeSoldermask: true,
})
const project = convertCircuitJsonToLbrn(circuitJson, {
includeCopper: false,
includeSoldermask: true,
})
Seve
SeveOP2w ago
yea i think so, note that it can be negative (and usually will be) also note that we should add solder mask margin in addition to the existing solder mask margins around components feel free to join our call today if you'd like btw
Abse
Abse2w ago
we already told him lol
Anas
Anas2w ago
positive and negative margin
No description
No description
Anas
Anas2w ago
const project = convertCircuitJsonToLbrn(circuitJson, {
includeSoldermask: true,
includeCopper: true,
soldermaskMargin: 0.2,
})
const project = convertCircuitJsonToLbrn(circuitJson, {
includeSoldermask: true,
includeCopper: true,
soldermaskMargin: 0.2,
})
const project = convertCircuitJsonToLbrn(circuitJson, {
includeSoldermask: true,
includeCopper: true,
soldermaskMargin:-0.2,
})
const project = convertCircuitJsonToLbrn(circuitJson, {
includeSoldermask: true,
includeCopper: true,
soldermaskMargin:-0.2,
})
Seve
SeveOP2w ago
nice!
Seve
SeveOP2w ago
since all of this is fresh, you could try a small PR to https://github.com/tscircuit/circuit-json-to-geometry since this is going to be our base for creating flattenjs geometry in the future (optional)
GitHub
GitHub - tscircuit/circuit-json-to-geometry
Contribute to tscircuit/circuit-json-to-geometry development by creating an account on GitHub.
Anas
Anas2w ago
Need to merge, I didn’t have access for that
Anas
Anas2w ago
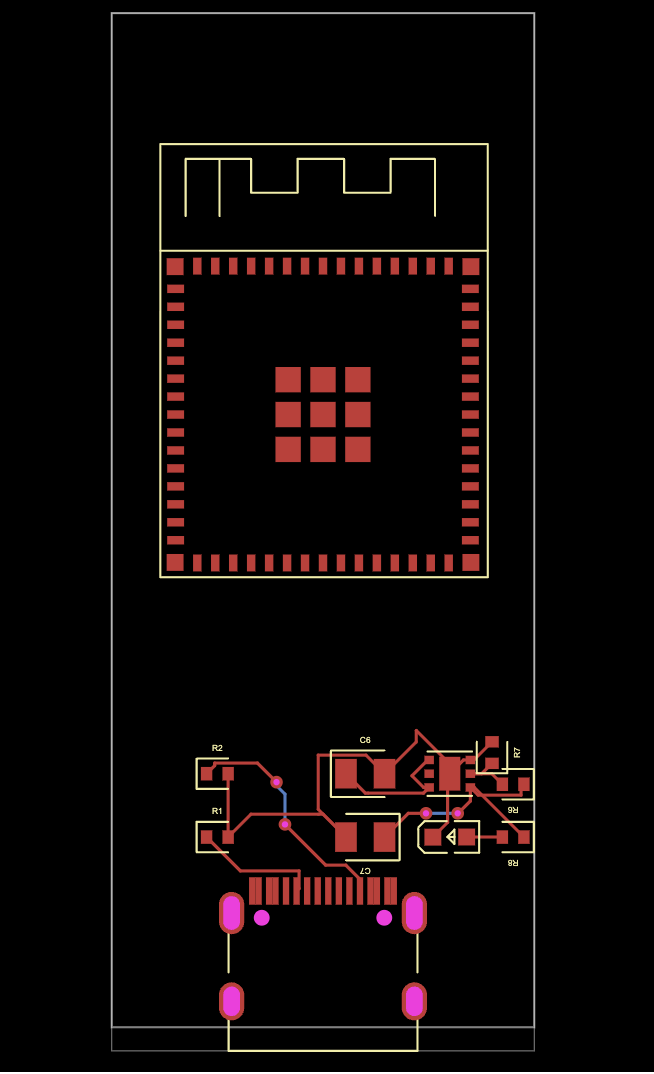
I tested some boards with laser. I think we need to work on RunFrame to support laser lbrn2
No description
No description
Seve
SeveOP2w ago
like as a preview? When the user goes to export, there's a dialog, we should show the laser preview and allow them to tweak settings there looks good tho RE: SVG-gen
Anas
Anas2w ago
Yeah, dialog to manage the includedSoldermask,soldermaske margin and includeCupper
Seve
SeveOP2w ago
yep!

Did you find this page helpful?