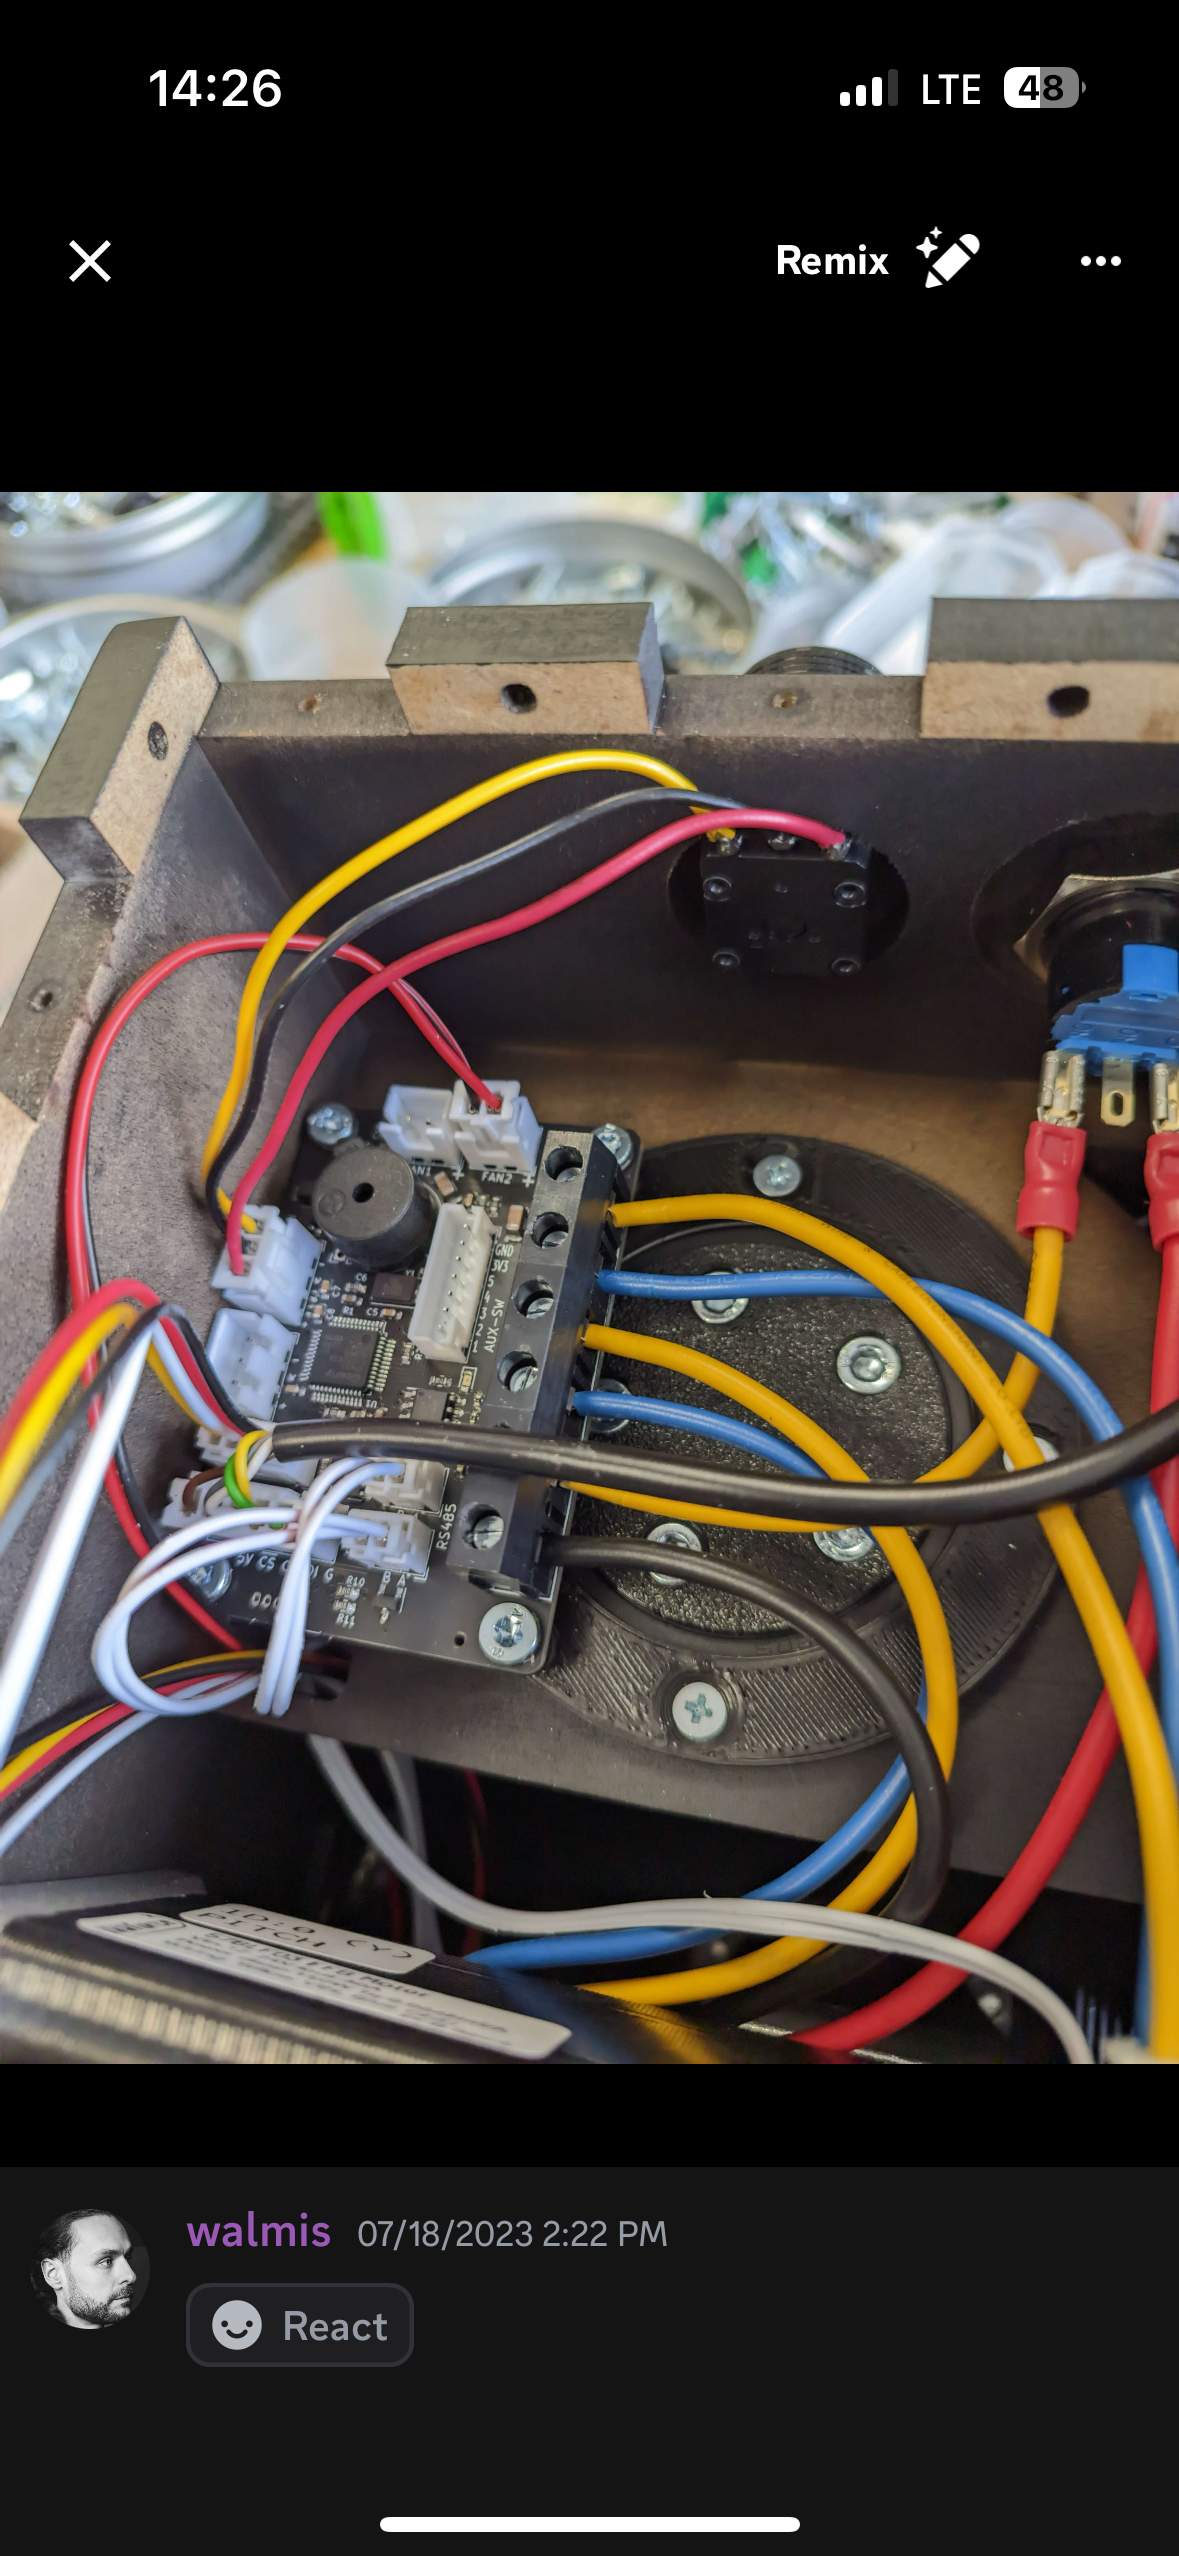
For trimming, i clicked "Hardware Force Trim" and "Override Trim" and i have the trim assignments in DCS empty. When i trim, the stick goes back but as soon as i release the trim, it goes back to center. Is that supposed to be like this or do i do something wrong?
Most, if not all of them, dcs modules handle trimming natively so you don't need to use the option for that in the configurator, just bind them as usual in the module controls.
You are in the offline/sim/class editor. Load into an aircraft with the sim running and you will see what you are looking for in the settings tab of the main UI where you can make real-time adjustments.
The page in your screenshot is for editing aircraft that are not actively loaded in a running sim and/or setting defaults at a sim level or aircraft class level.
I got the kit from @SR-FWinger[73]_David and the motors from @walmis which were both delivered within two weeks and then it took me only around 5 hours to assemble
Definitely cheaper if you print yourself and if you have a half decent printer there are no complicated parts i was just too impatient to have to wait for me to get the time to print as some of the parts were 14-20 hour prints
you can really save a lot of money if you go for the bare minimum on prints, not so much on bearings/fasteners that are pretty much going to be a constant price
David's kit has the advantage of a much more similar upper gimbal to actual vpforce, so based around an extrusion + compatible with vpforce metal grip connector upgrade
Between 5 and 10hours is a great estimate on the amount of work.
Depends on how confident you are with medium scale projects and/or the quality of prints also makes a slightly difference.
If you’re comfortable with a soldering station and have that preset up and you’ve got some random bits of wire or heat shrink you’ll be just fine.
Follow the guide.
Follow the guide.
Follow. The. Guide.
PAY CAREFUL ATTENTION TO PART ORIENTATION.
As example the main stick mount has a slot for the wires. Pay attention to “where it’s at” and “how it’s facing” in the pics and as you move along keep it as a reference point.
If you have ANY issue… back up and start again. Some parts can go on both ways but the screws only fit, or are only recessed, one way.
Remember wire length matters! Short and sweet plus a little slack..
When connecting the motors pay attention to the Labels. They should be facing UP!
I have a pic I share that shows the inside wiring of a Rhino start switch (zoom in!)
The Power (+) comes from the plug to the C side of the Emergency cut off switch.
Power (+) goes from the NC side of the Emergency cut off switch to the Main board.
Negative (-) goes from the Plug to the Main board.
Outside that make sure to use lots of pics from the DIY section as alternate angles and I already know… You got this!