Though I guess it looks like the spacing on those fasteners means you can put it on any of the 8020
Though I guess it looks like the spacing on those fasteners means you can put it on any of the 8020 tubes in the assembly
 B
B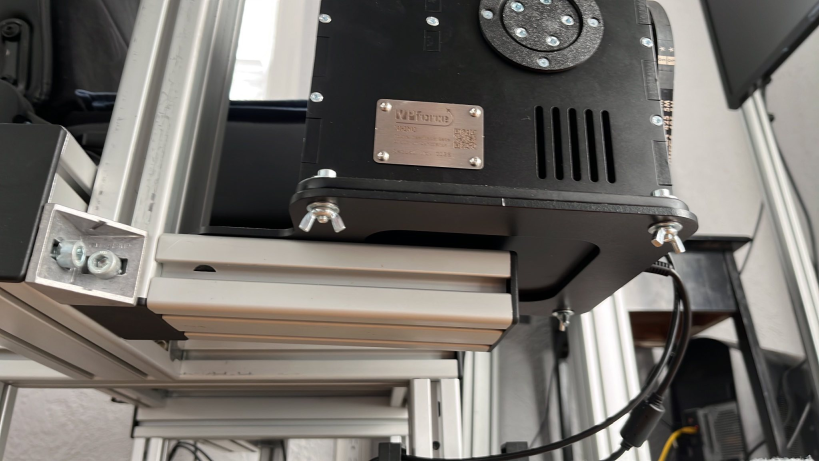
 HB
HB HHBHHBHHH
 HBHHHHHBHHH
 H
H FB
FB F
F S
S JJJ
JJJ C
C M
M 5
5
 5
5
 S
S N
N W
W 5FWF
5FWF S
S N
N SHW
SHW MNM
MNM


